How to configure email on an Android phone
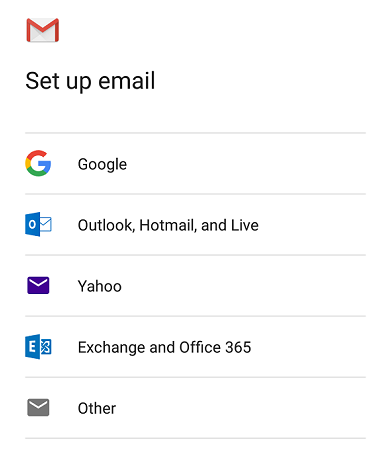
- Open the mail app.
- Select the 'Other' option.
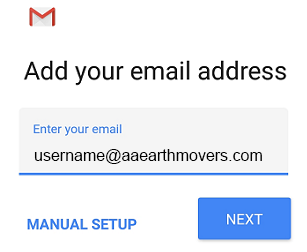
- Enter the email address you wish to connect to. In this example, the email is user@aaearthmovers.com.
- Click the MANUAL SETUP button.
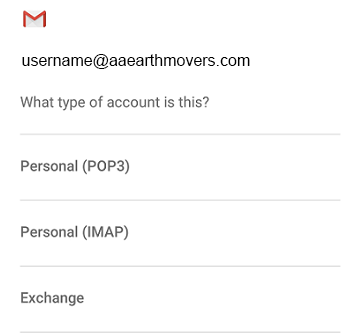
- Choose which type of account you'd like to use. POP3 is recommended.
- Enter your password.
- The Incoming server settings screen opens:
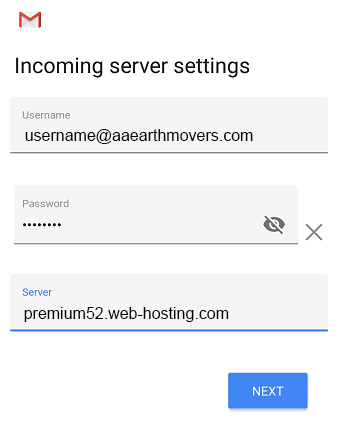
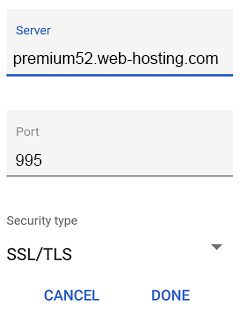
- Enter the following 'Incoming' server settings:
- Username – Your full email address
- Password – The password of your email address
- SERVER – View the Email server name table to ensure you're using your correct mail server name. The email in this example is hosted on the sub0 cluster.
- Click the NEXT button.
- The Outgoing server settings screen opens:
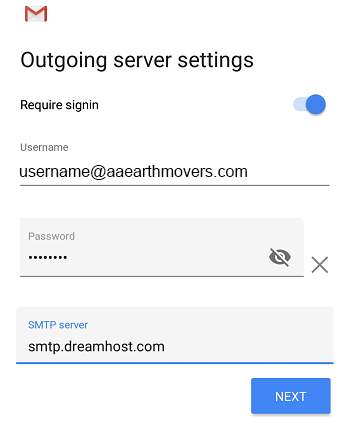
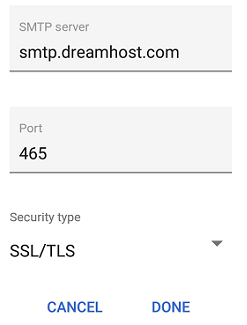
- Enter the following 'Outgoing' server settings:
- USERNAME – Your full email address
- AUTHENTICATION – Your password
- SMTP SERVER – View the Email server name table to ensure you're using your correct mail server name. The email in this example is hosted on the sub0 cluster.
- Click the NEXT button.
- The Account options screen opens:
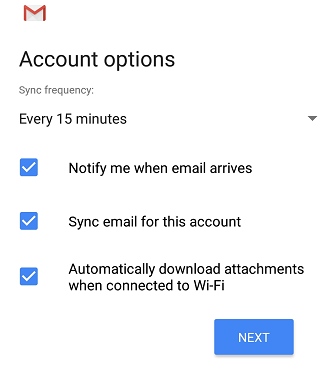
- Select your desired settings.
- Click the NEXT button.
- A screen opens confirming your address is properly configured:
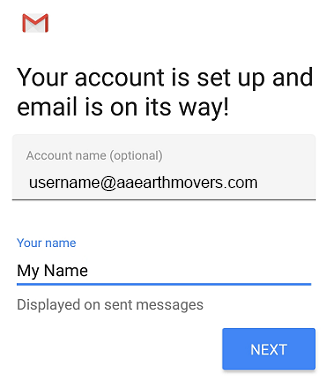
- Fill in the following two options:
- Give this account a name (Optional) – Just leave this as your address
- Your name (Displayed on outgoing messages) – You can change this to your actual name if you like
- Click the NEXT button to complete the configuration.

Verifying and adjusting secure settings
By default, the GMAIL app configures security for your email connection. You can confirm or change these settings within the app.
- Load your email.
- On the top left, click the three horizontal lines next to INBOX.
- Scroll down and click the 'Settings' link.
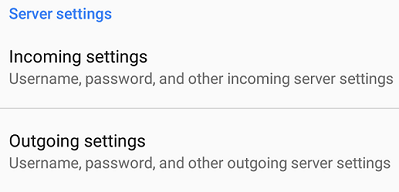
- Scroll down and you'll see 'Incoming' and 'Outgoing' settings. Click either to view.
- Incoming
- Outgoing